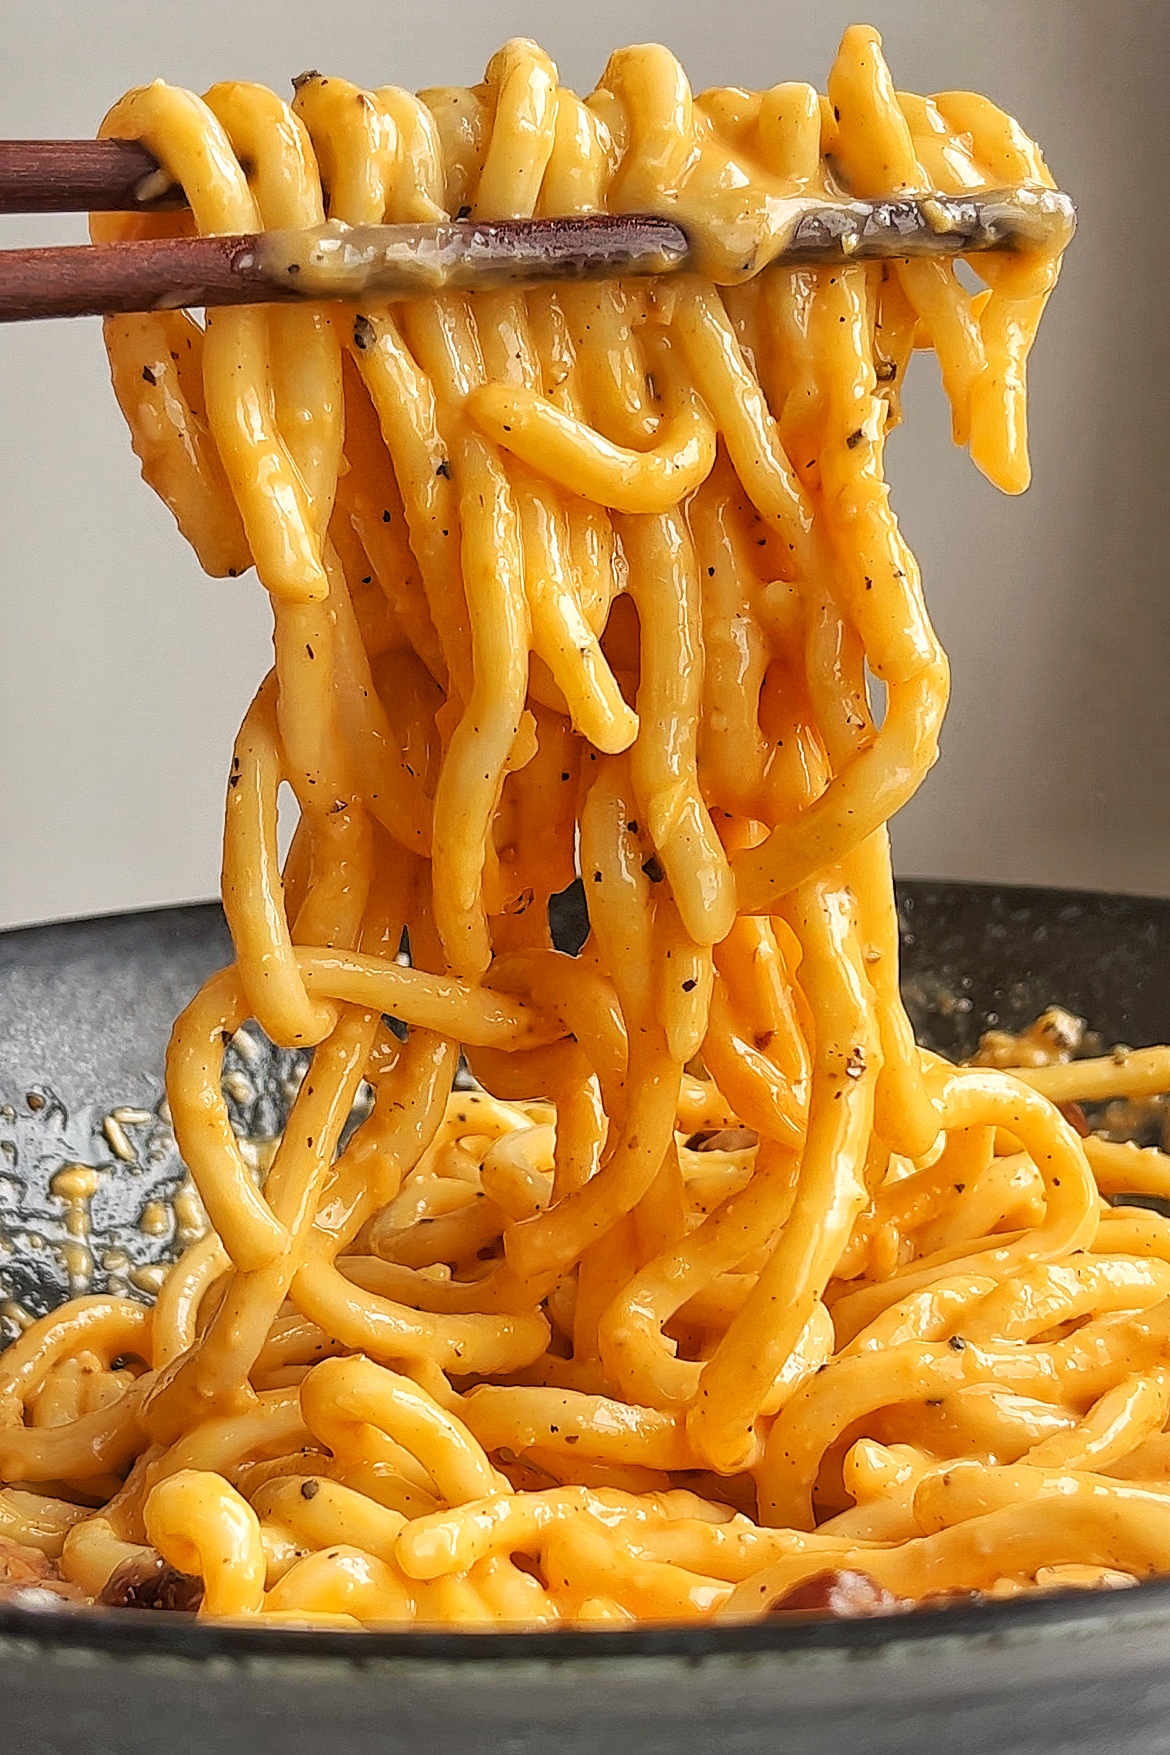
This is my Pork Belly Udon Carbonara and it is so incredibly delicious. All you need are egg yolks, parmesan, garlic, pepper, and cream for the sauce. It comes together in less than 20 minutes and is a go-to pasta dish of mine!

Whether you want to call this udon carbonara or pork belly udon, or pork belly udon carbonara, the important thing is, is that it's delicious and really simple to make.
I adore pork belly, it's one of my favourite cuts of pork, and I truly think it's underrated. When cooked well, it is SO delicious. This recipe will walk you through how to make flavourful, soft, slightly crispy pork belly on top of a carbonara udon.
Udon noodles are thick, chewy, and work really well with a carbonara sauce, so I thought why not put two and two together! If you're also a fan of udon and looking for inspiration, then check out my teriyaki chicken udon noodles or my creamy miso mushroom udon for easy dinner ideas.
If you're still in the early stages of cooking with pork belly, then my 20-minute pork belly fried rice and my pork belly pasta are both really great recipes to start with too!
Jump to:
Why You'll Love This Recipe
Speedy: This udon carbonara takes less than 20 minutes to make, so is perfect for a weeknight dinner when you're short on time!
Minimal ingredients: You only need around 6 ingredients for this dish, most of which you'll probably already have in your kitchen.
Comforting twist on a classic: Carbonara is such a nostalgic and classic dish. And sometimes it's nice to soup up classic recipes by adding some flare i.e. pork belly.
Ingredients & Substitutions
For the pork belly:
Pork belly slices: I bought pre-cut pork belly slices with the fat still on but the skin taken off.
Soy sauce: I've used light soy sauce for this recipe. It's got a lower sodium content than dark soy sauce so has a lighter more subtle taste.
Brown sugar: Any kind of brown sugar will do. You could also add honey, just for a bit of sweetness.
For the carbonara sauce:
Garlic: We use garlic twice in this dish, so have a few cloves ready! You can always opt out of using it but I highly recommend. If you don't have it fresh, then feel free to use garlic granules (bit at a time).
Egg yolks: Fresh egg yolks (I used Clarence Court eggs) provide the creaminess and dark orange colour to this dish.
Parmesan: Freshly grated parmesan is perfect for this recipe. Don't use pre-grated parmesan, as this is generally packaged with an anti-caking agent which then coagulates when cooked sometimes.
Single cream: Or light cream, is used to add a bit more creaminess to the carbonara. It's not traditional, but I love it.
See the recipe card for full information on ingredients.
Recipe Variations
Bacon: If you're not a fan of pork belly but you want to give this recipe a go, I'd recommend trying it with streaky bacon. Simply add it to a pan with the light soy sauce, honey, and garlic as already mentioned in the recipe, and serve it up with the carbonara udon.
Veggies: If you're looking to add some veggies in with this dish, I'd recommend cooked tender stem broccoli, edamame beans, or wilted spinach.
Spicy: Some recipes are great with some heat, and this is definitely one of them. I'd recommend adding some gochujang (Korean red pepper paste) to the carbonara sauce - around 1 tablespoon - this will give the sauce a light spicy kick and a lovely red-ish colour.
Step-by-Step Instructions with Photos
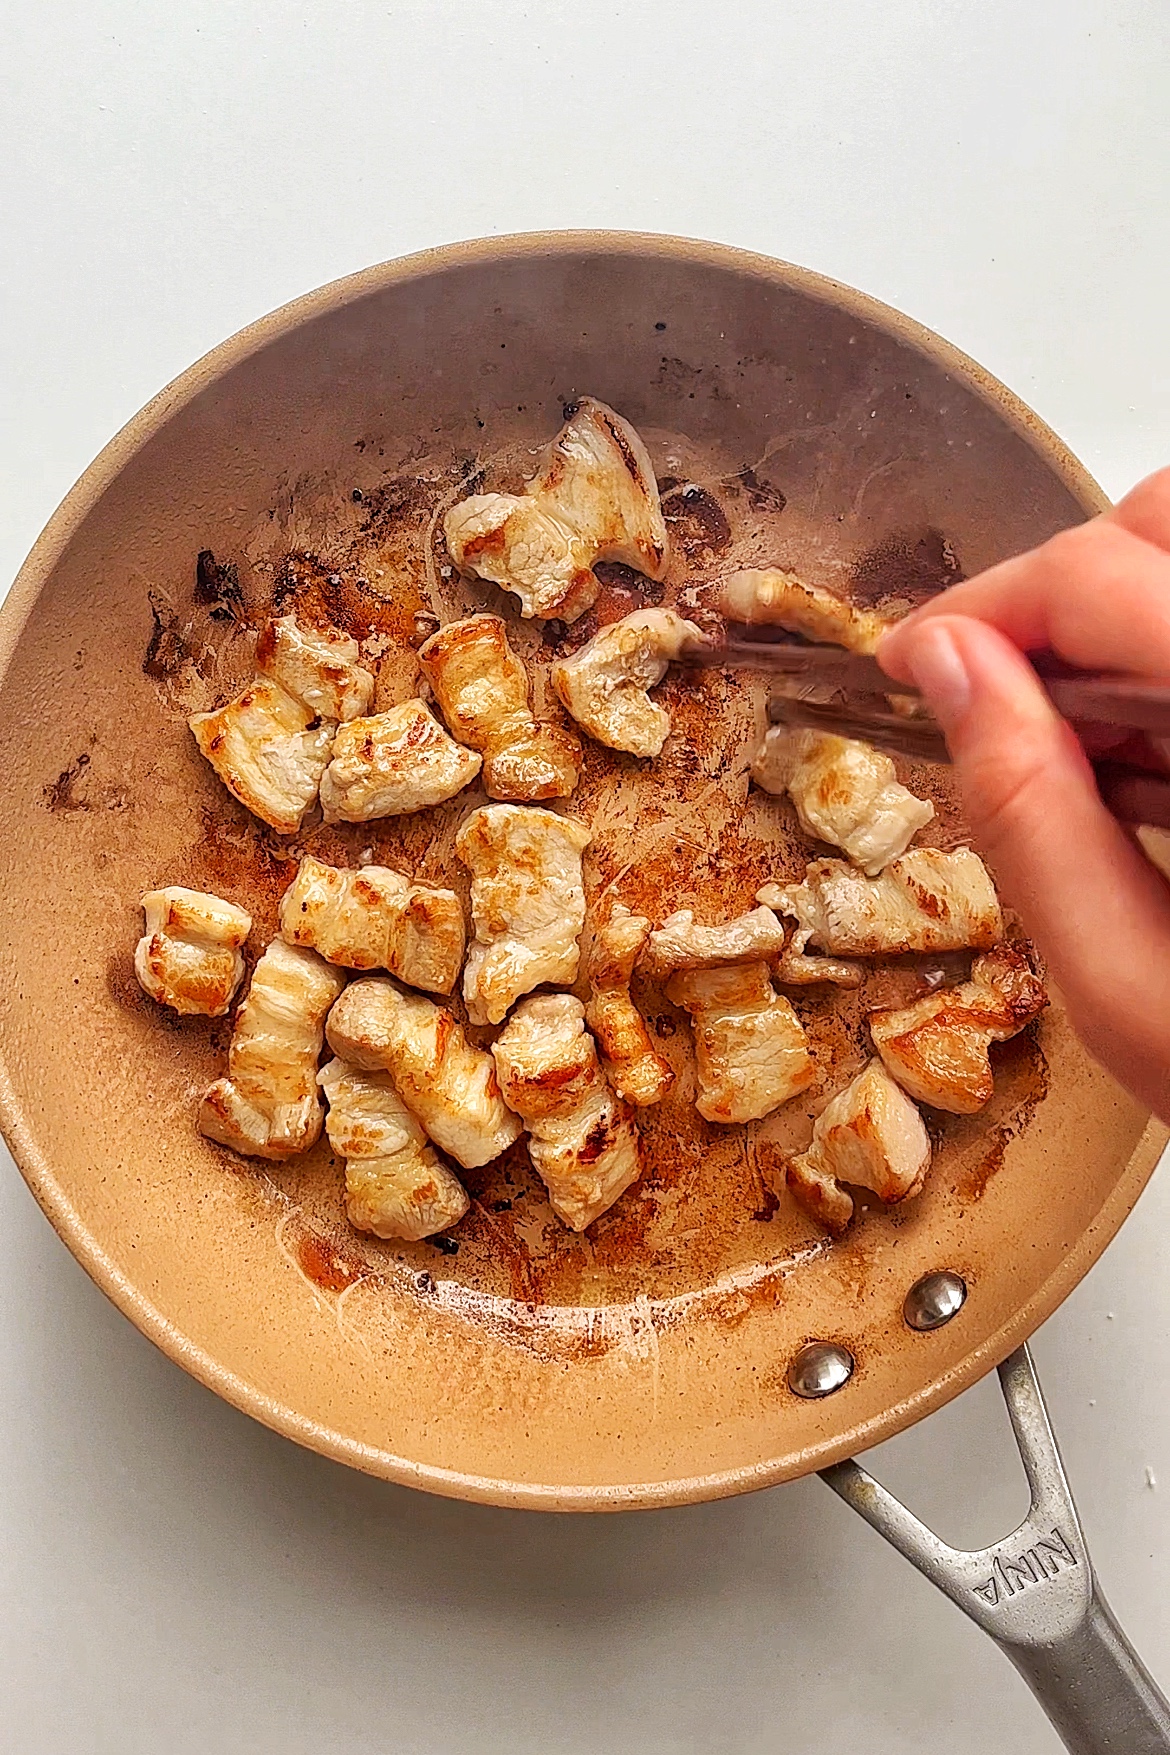
Step 1: Place a non-stick frying pan on medium heat. Add in your chopped pork belly slices and fry on each side for 3 minutes. Then, pour in your light soy sauce, brown sugar, and garlic cloves. Fry for a further 2 minutes, then add in 50ml water. Fry for 5 minutes until the water has evaporated and the pork belly is crispy but tender.
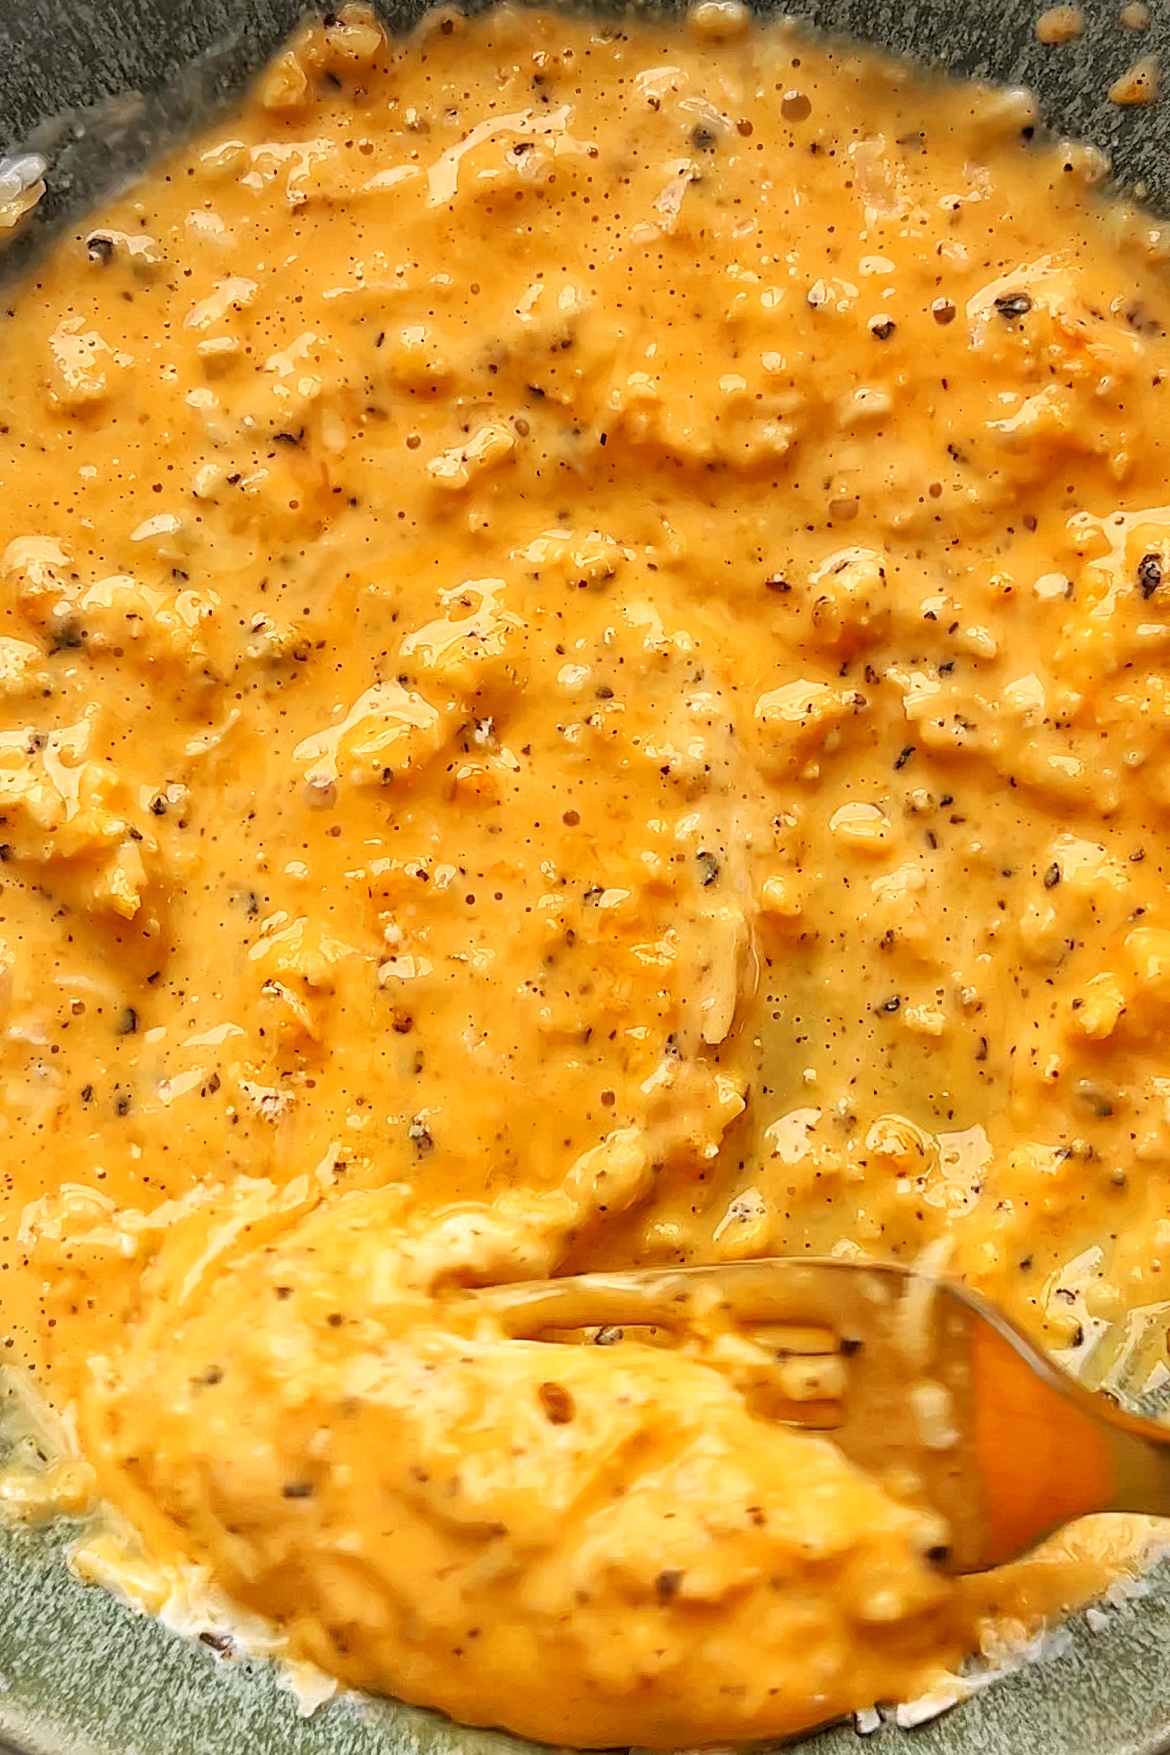
Step 2: Meanwhile, combine all of your carbonara sauce ingredients in a bowl. Set it aside while you wait for your pork belly to be cooked. You can also prepare your udon noodles by following their packet instructions.
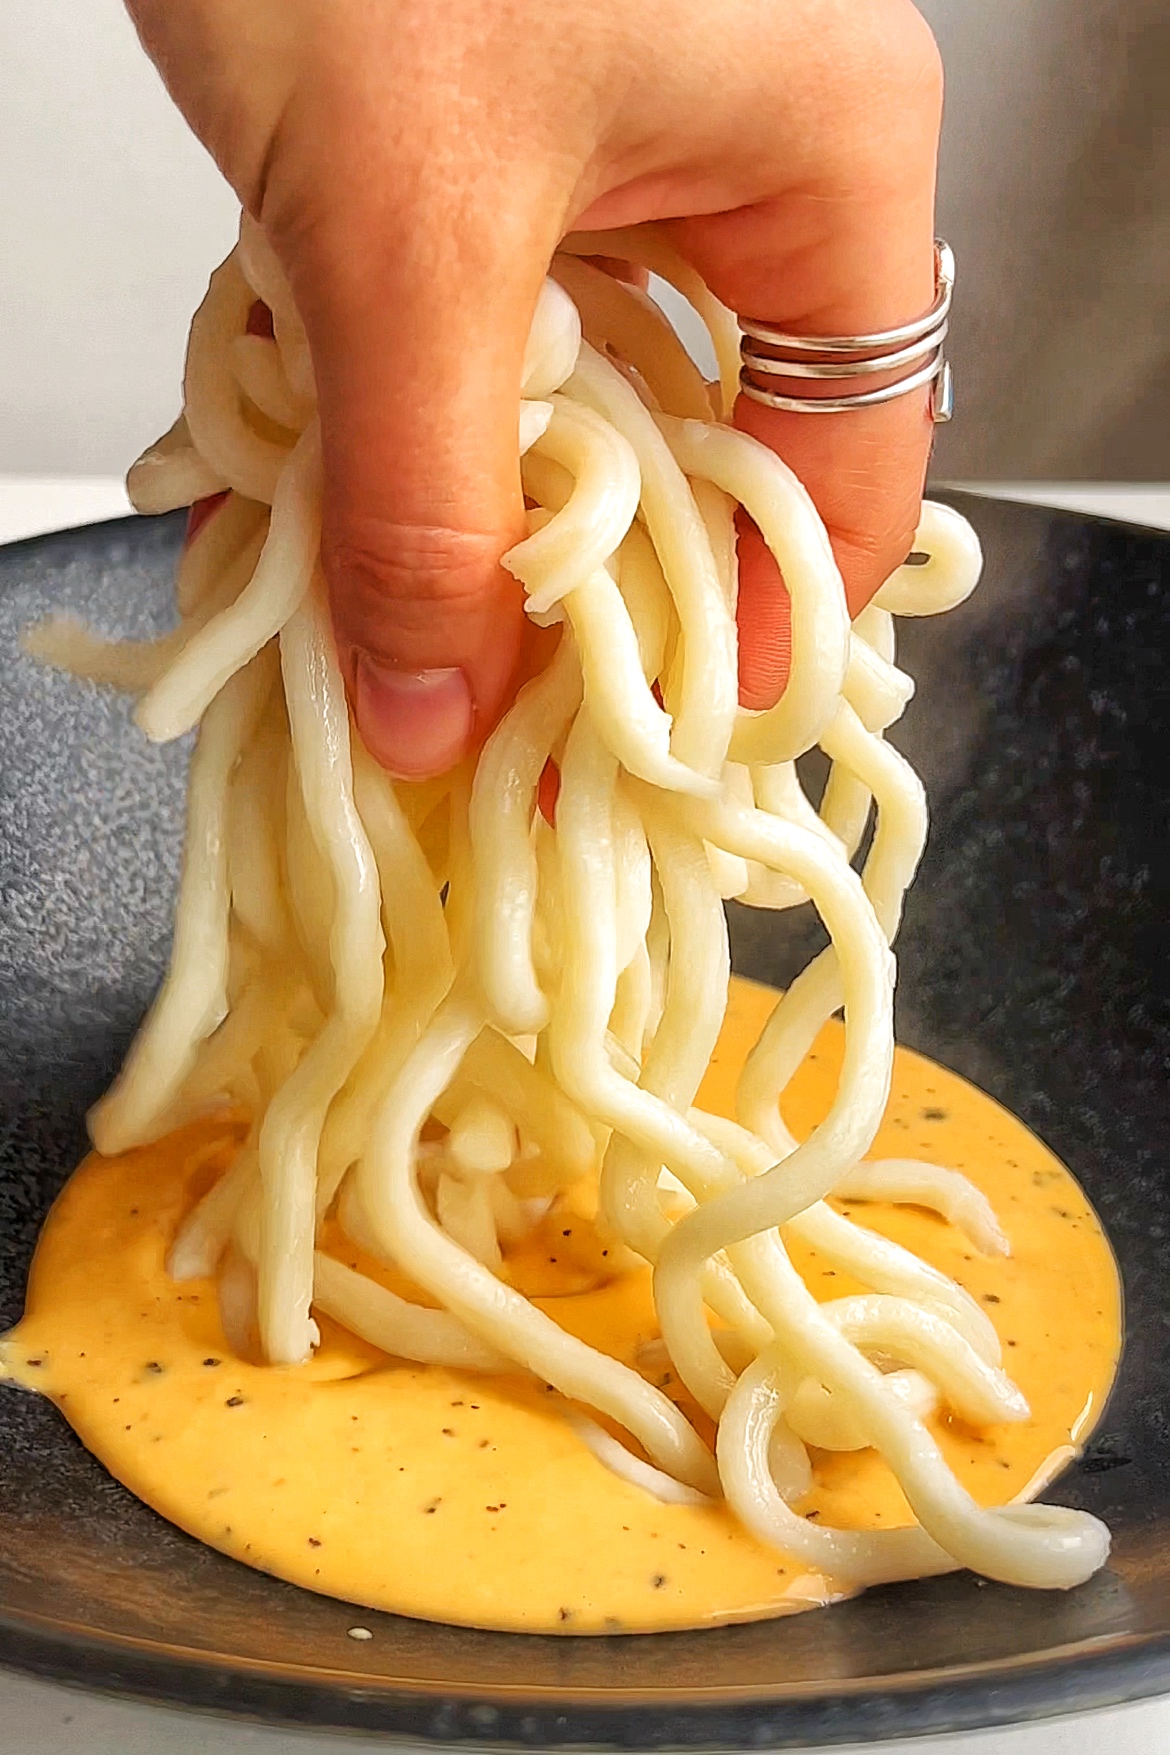
Step 3: When everything is ready to go, divide your carbonara sauce into your bowls and top with your chewy udon noodles.
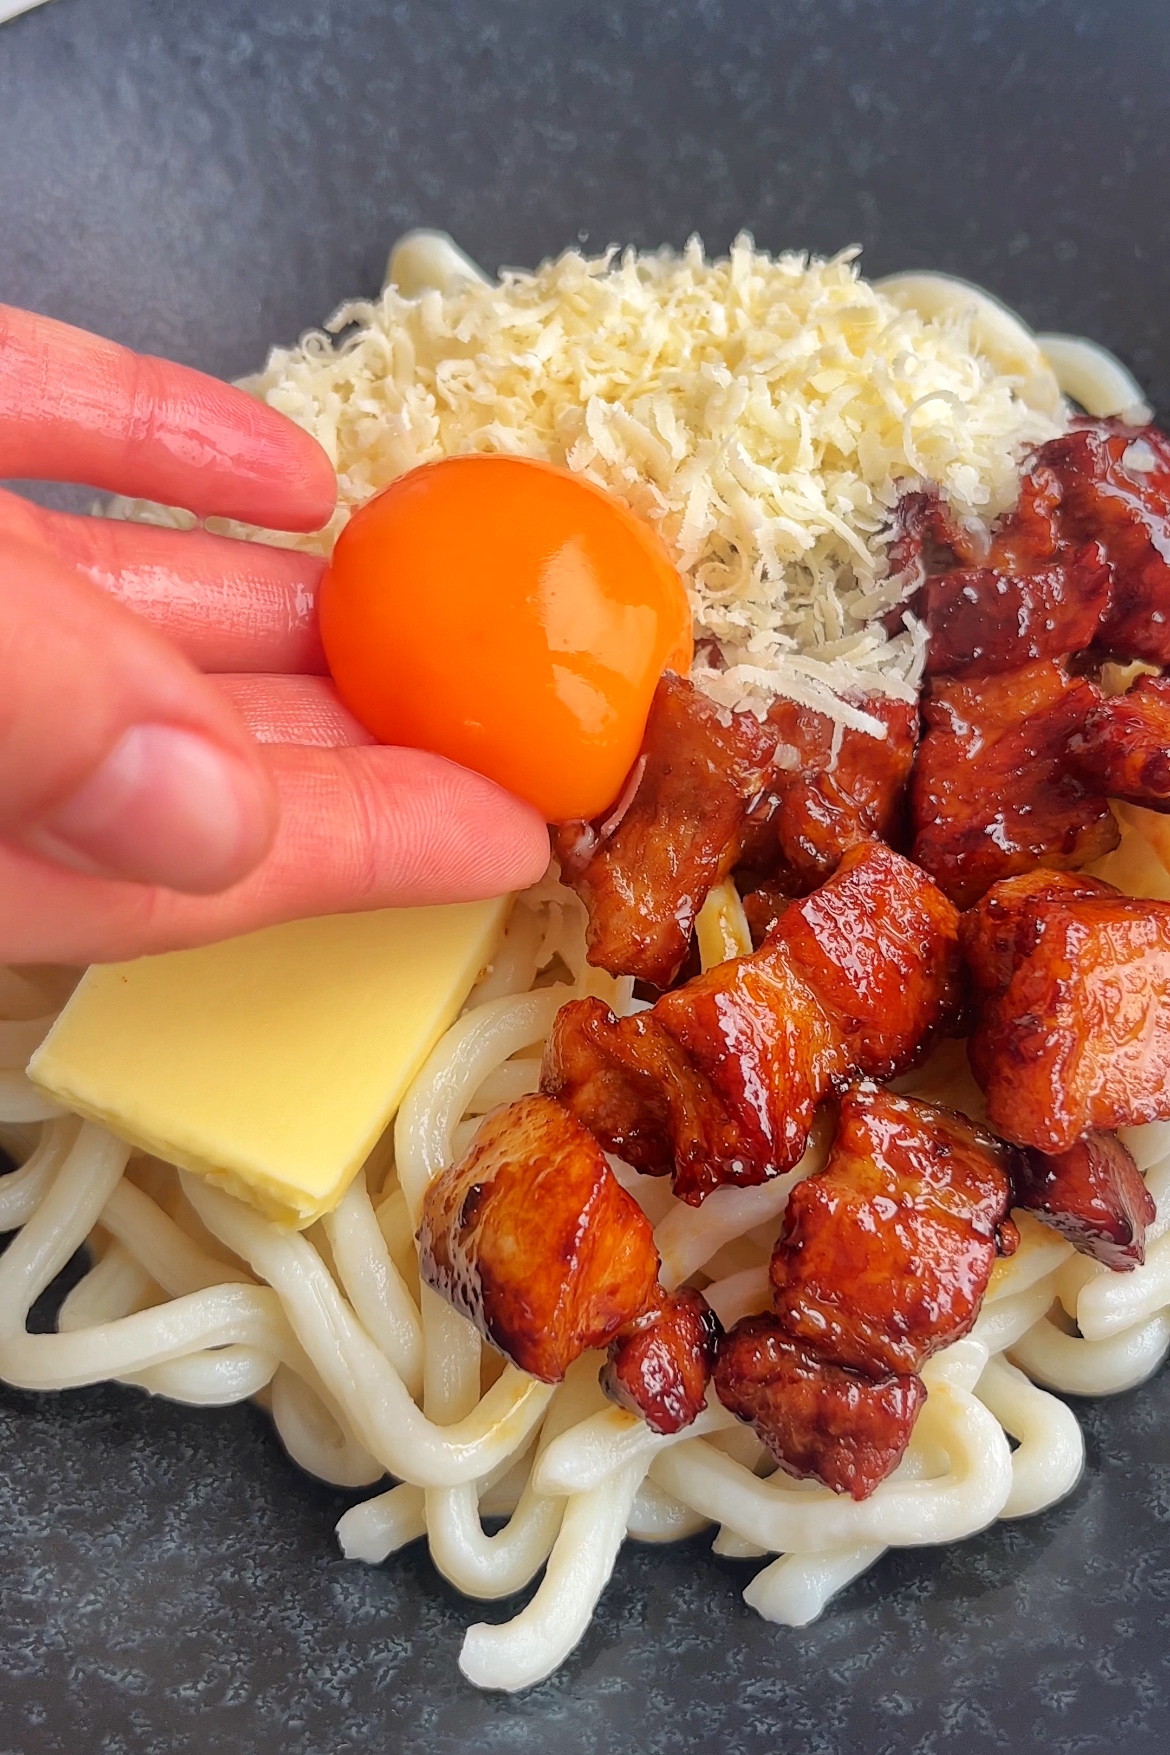
Step 4: Garnish with your fried pork belly, grated parmesan cheese, a knob of butter, and an egg yolk. Sprinkle over some ground black pepper and enjoy!
Top Tips!
- The smaller you slice your pork belly, the quicker they will cook and the crispier they will get!
- Make sure to use a block of parmesan and grate it fresh. Don't use pre-grated parmesan as this doesn't taste as good and also has an anti-caking agent in it which then coagulates and affects the texture of the dish.
- Make sure to keep all the elements including your udon noodles and pork belly hot just before serving, as you want your final dish to be hot to eat.
What to do with leftovers
Storage: Place any leftover udon carbonara in an airtight container and into the fridge for up to 4 days.
Reheat: To reheat this dish, I'd recommend adding a splash of cream or milk into the dish and then either heating it up in the microwave until piping hot, or on the stove top until piping hot.
FAQs
You could either use bacon or guanciale.
Depending on the pork belly, some may be chewier than others. If yours is chewy, then I'd recommend adding more water when cooking the pork and boiling it off for a further 10 minutes. This will tenderise the meat.
Yes, you can use pecorino cheese instead of parmesan.
I like to serve mine with a side of tender stem broccoli or edamame beans.
Other recipes you might like!
If you tried this Pork Belly Carbonara Udon or any other recipe on my website, please leave a 🌟 star rating and let me know how it went in the 📝 comments below. Thank you!
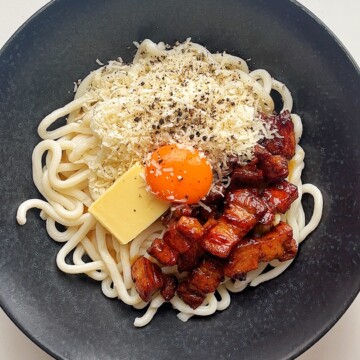
Pork Belly Udon Carbonara
Ingredients
For the pork belly
- 300g pork belly slices cut into small ½ inch wide pieces
- 2 tablespoon light soy sauce
- ½ tablespoon brown sugar
- 2 garlic cloves minced
For the carbonara sauce
- 3 egg yolks
- 50g parmesan grated
- 1 garlic clove minced
- 1 teaspoon ground black pepper
- 4 tablespoon cream
For the noodles & toppings
- 200g udon noodles cooked to packet instructions
- 50g parmesan grated
- 2 tablespoon butter sliced into little squares
- 2 egg yolks
- 1 teaspoon ground black pepper
Instructions
- Place a non-stick frying pan on medium heat. Add in your chopped pork belly slices and fry on each side for 3 minutes. Then, pour in your light soy sauce, brown sugar, and garlic cloves. Fry for a further 2 minutes, then add in 50ml water. Fry for 5 minutes until the water has evaporated and the pork belly is crispy but tender.
- Meanwhile, combine all of your carbonara sauce ingredients in a bowl. Set it aside while you wait for your pork belly to be cooked. You can also prepare your udon noodles by following their packet instructions (make sure your noodles and pork belly stay hot up until serving).
- When everything is ready to go, divide your carbonara sauce into your bowls and top with your chewy udon noodles.
- Garnish with your fried pork belly, grated parmesan cheese, a knob of butter, and an egg yolk. Sprinkle over some ground black pepper and enjoy!
Notes
- The smaller you slice your pork belly, the quicker they will cook and the crispier they will get!
- Make sure to use a block of parmesan and grate it fresh. Don't use pre-grated parmesan as this doesn't taste as good and also has an anti-caking agent in it which then coagulates and affects the texture of the dish.
- Make sure to keep all the elements including your udon noodles and pork belly hot just before serving, as you want your final dish to be hot to eat.




Sue Van Oosterom
So did I get this right? The sauce isn’t heated or cooked ..just placed in bowl raw? Can I heat it if I am concerned with serving raw egg in the carbonara?
Emily Roz
Hey Sue, thank you for your comment! You read it right! Authentic carbonara doesn't need to be cooked. However, you can absolutely heat it up once everything has combined, there's just a risk that the egg might scramble. I'd recommend combining everything together and then gently heating it up in the microwave or in a pan on low heat until piping hot! Hope that helps 🙂 Em xx