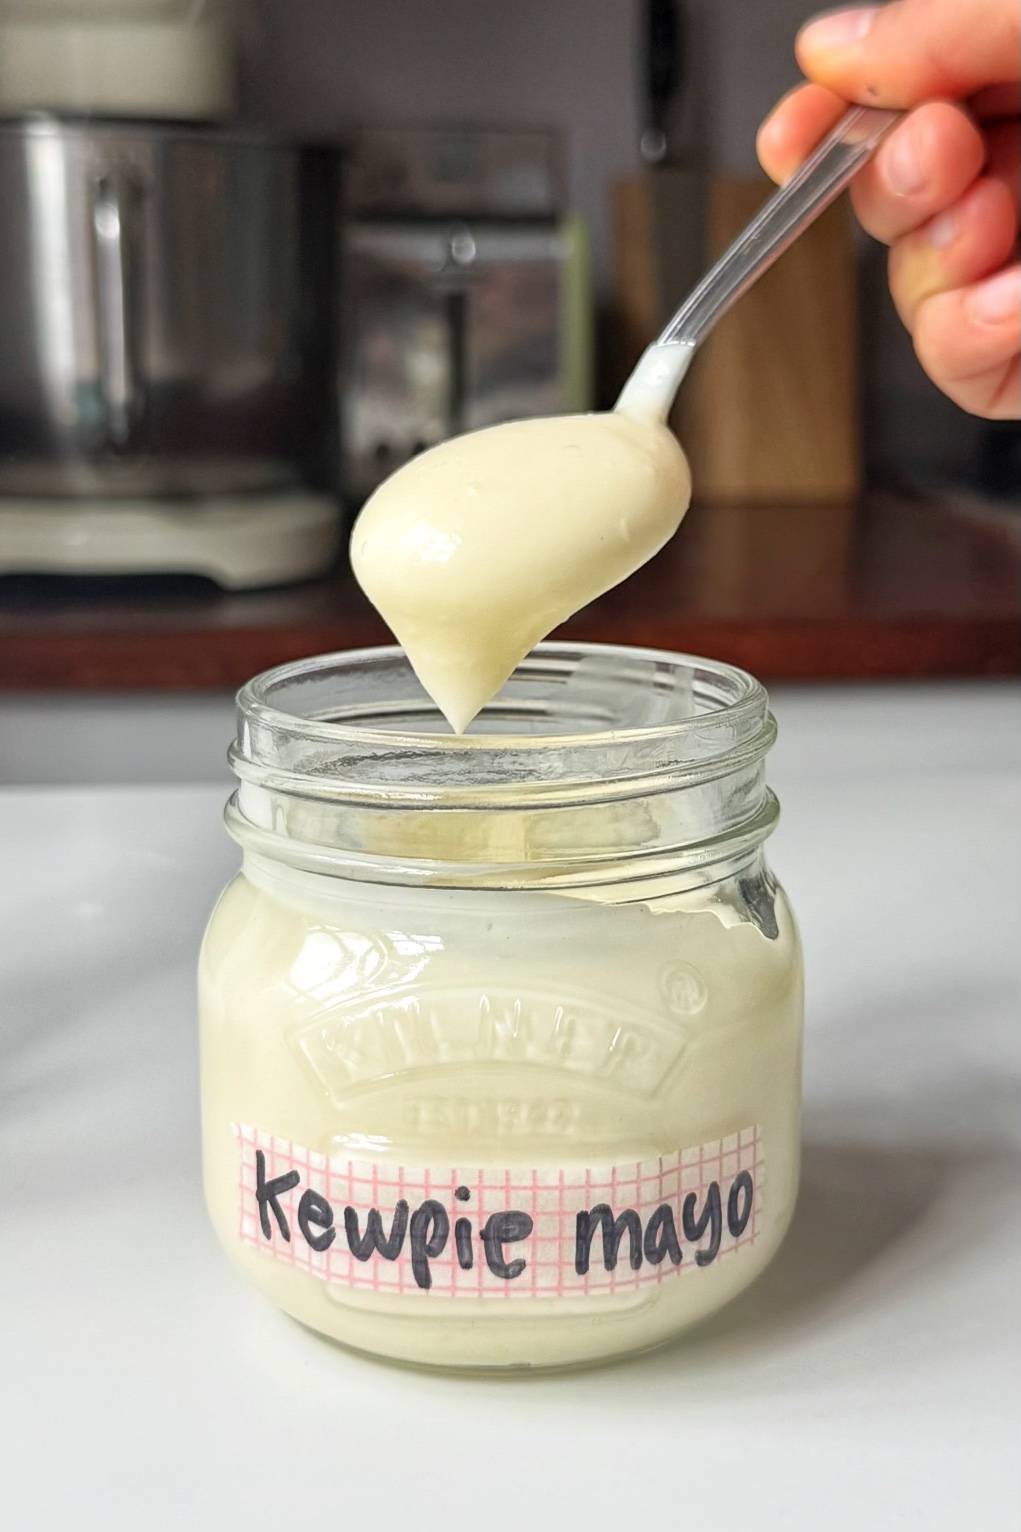
This kewpie mayo recipe is one of my favorite condiments to make from scratch and it only takes 5 minutes. If you've ever wondered how to make Japanese mayonnaise at home, you're in the right place. It's rich, tangy, slightly sweet, and packed with that unmistakable umami flavor that makes Kewpie so delicious.
Hey, I'm Emily Roz - a recipe developer, cookbook author, and huge foodie! I've been making my own mayonnaise for years; it started with my boyfriend's Mum teaching me how to make it around 8 years ago. I learned just how much better freshly made mayo tastes compared to anything from a jar and how easy it is to make!
I recently re-tested and refined this kewpie mayo recipe to get it even closer to the real thing by looking at the ingredients that Kewpie put in their actual product, and I'm so happy with where it's landed. All you need is an electric whisk, a measuring jug, and a few pantry ingredients to make around 200ml of the most delicious homemade Japanese mayo. I use it on everything from my smash gyoza to spicy ramen dumplings or in my sardine ramen and it's incredible as a dip or drizzled over rice bowls.
The best part? You probably already have most of the ingredients in your pantry. Let me walk you through it!
Jump to:
What Is Kewpie Mayo?
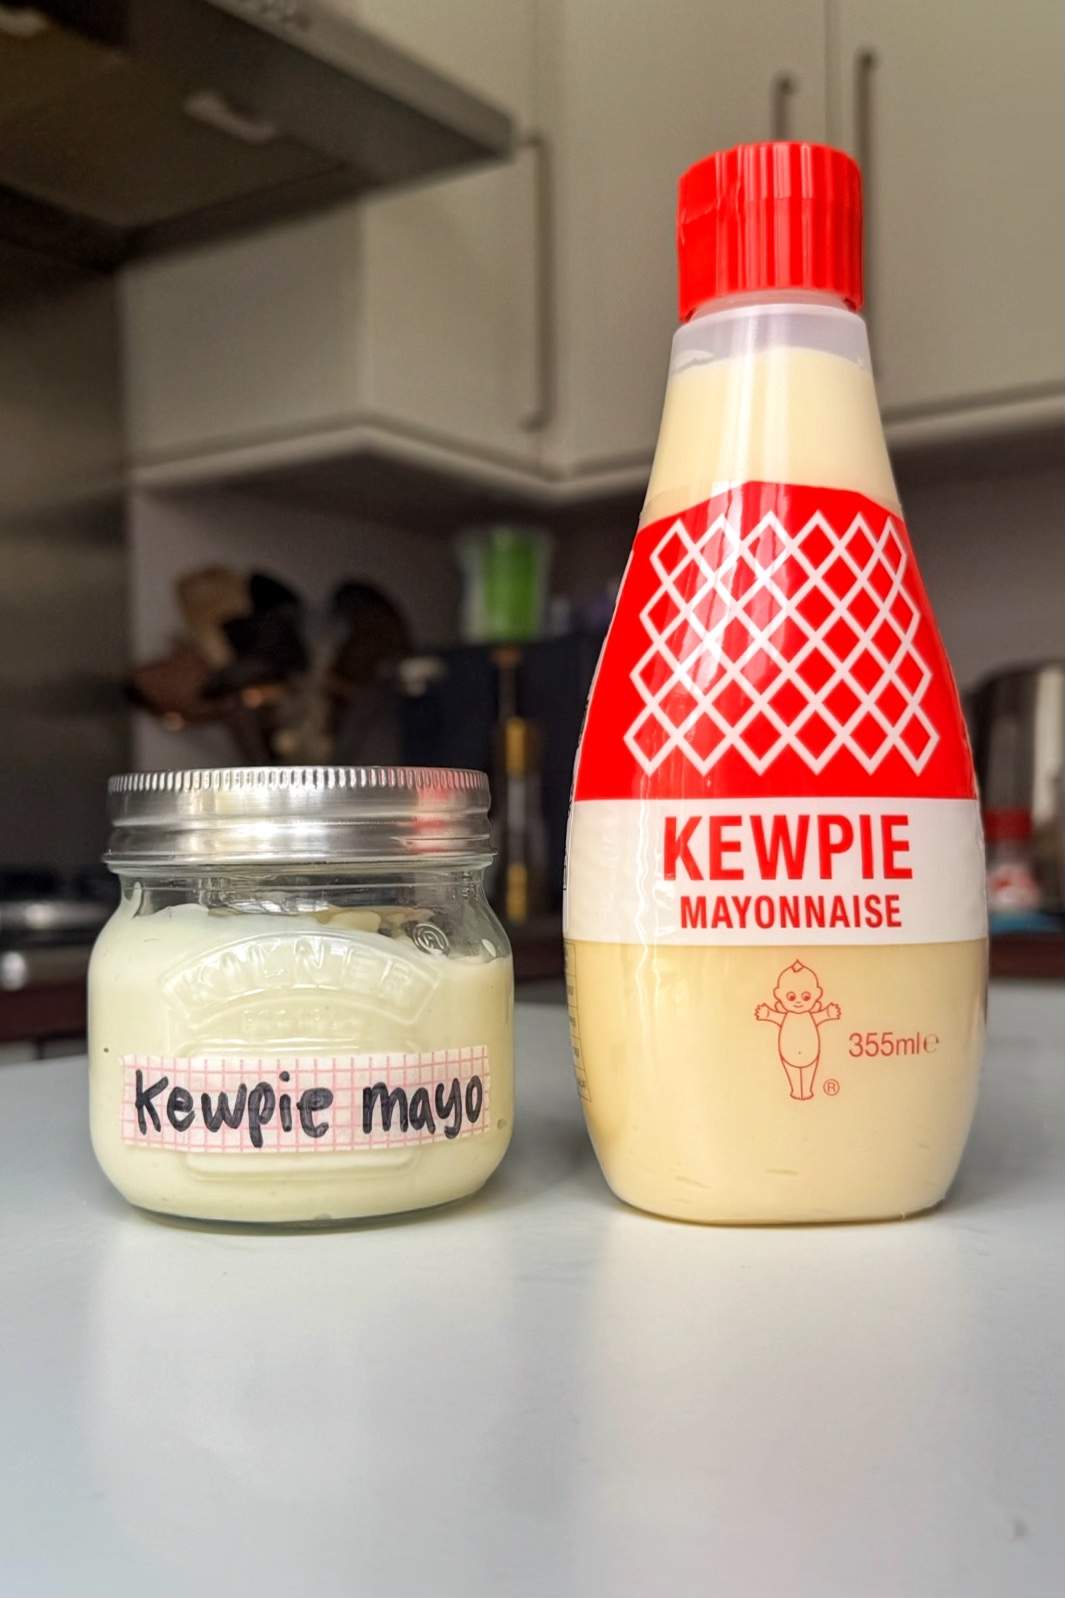
Kewpie mayo is Japan's most iconic mayonnaise brand, first created in 1925 by Toichiro Nakashima after he discovered American mayonnaise on a trip to the United States. He decided to make his own version - using only egg yolks (not whole eggs) for a richer, creamier texture, and rice vinegar instead of the distilled vinegar used in Western mayo.
The result is a mayonnaise that's noticeably different from brands like Hellmann's or Best Foods. Kewpie is creamier, slightly sweet, and has a deep umami flavor thanks to the addition of MSG (listed as "seasoning" on Japanese bottles). It comes in that iconic soft squeeze bottle with a red cap and Kewpie doll logo, you've probably seen it in the Asian aisle of your grocery store.
Why You'll Love This Recipe
It takes just 5 minutes. Seriously, this is one of the fastest condiments you'll ever make from scratch. All you need is a measuring jug and an electric whisk (I only attach one whisk attachment so it fits in the jug, works perfectly).
It tastes better than store-bought. I'm a huge fan of bottled Kewpie, but there's something about freshly made mayo that just hits different. I've refined this recipe by taking inspiration from the real Kewpie mayo ingredients list, and multiple recipe tests to get the balance of sweet, tangy, and umami just right.
It's incredibly versatile. I sometimes use this kewpie mayo recipe in my chicken salad, as a dip for my spicy ramen dumplings, drizzled on air fryer rice paper rolls, and mixed into sushi rice bowls. It honestly goes with everything.
From-scratch confidence. Once you've made mayo from scratch, you'll realize how easy it is, and how much better it tastes than anything from a jar.
Ingredients
Egg yolk: Just one egg yolk creates the base of this kewpie mayo recipe. The yolk acts as an emulsifier, binding the oil and vinegar together into that signature creamy texture. Use the freshest egg you can find, ideally at room temperature.
A note on egg safety: Since this recipe uses a raw egg yolk, I recommend using pasteurized eggs if you're concerned about food safety. I personally don't use them, so it's up to you!
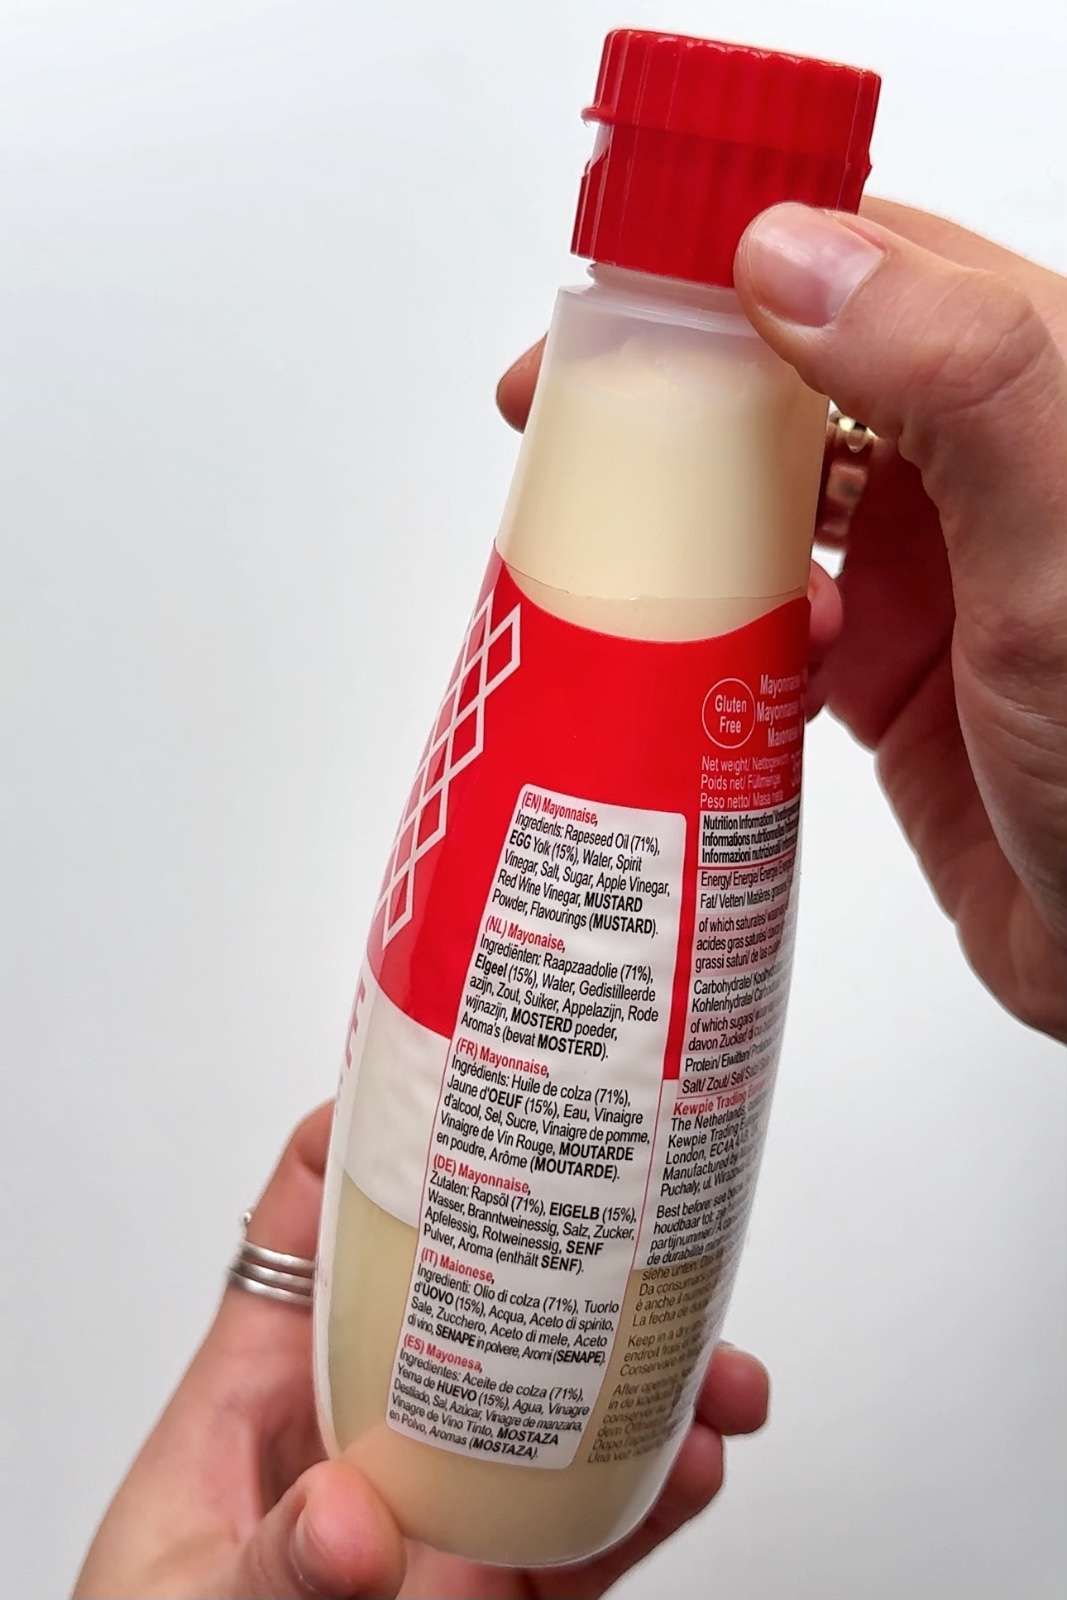
Vegetable oil (175ml / ¾ cup): Any neutral-flavored oil works well. I always reach for rapeseed oil because I love the clean flavor it gives and is also used in the Kewpie mayo original recipe, but canola or soybean oil work just as well. Avoid extra virgin olive oil: it has too strong a flavor.
Dijon mustard (½ tsp): Just half a teaspoon adds a subtle background warmth and, importantly, helps stabilize the emulsion so your mayo doesn't split.
Flaky sea salt (½ tsp) or table salt (¼ tsp): I love using flaky sea salt here because you get those little bites of salt throughout the mayo and it adds a really nice texture. If you only have table salt, use ¼ teaspoon instead for a more integrated, even flavor.
Sugar (¼ tsp): Just a tiny amount. Kewpie mayo has a subtle sweetness, and a quarter teaspoon is all you need to bring that out without making it taste sweet.
Rice wine vinegar (½ tsp): This gives kewpie mayo its distinctive gentle tang. If you can't find rice wine vinegar, apple cider vinegar or red wine vinegar (both which are used in Kewpie's original recipe) is actually a great alternative.
MSG (¼ tsp): This is the ingredient that gives authentic Kewpie its umami depth. I'd really recommend including it, it makes such a difference. If you don't have MSG, a pinch of dashi powder works as an alternative.
Lemon juice (1 tsp): A teaspoon of fresh lemon juice brightens everything up and balances the richness of the egg yolk and oil.
Recipe Variations
Spicy: To make this spicy, you could add in 2 teaspoons of chilli oil to your mayonnaise once it's formed.
Aioli: If you like things garlicky, I'd recommend adding some grated garlic into the final kewpie mayo product. It's great with crushed potatoes or in a sandwich!
Double it! If you're hosting a party or you want to make some as a gift for multiple people, then simply increase the ingredients based on the quantity you want to make and go for it!
Step by Step Instructions with Photos
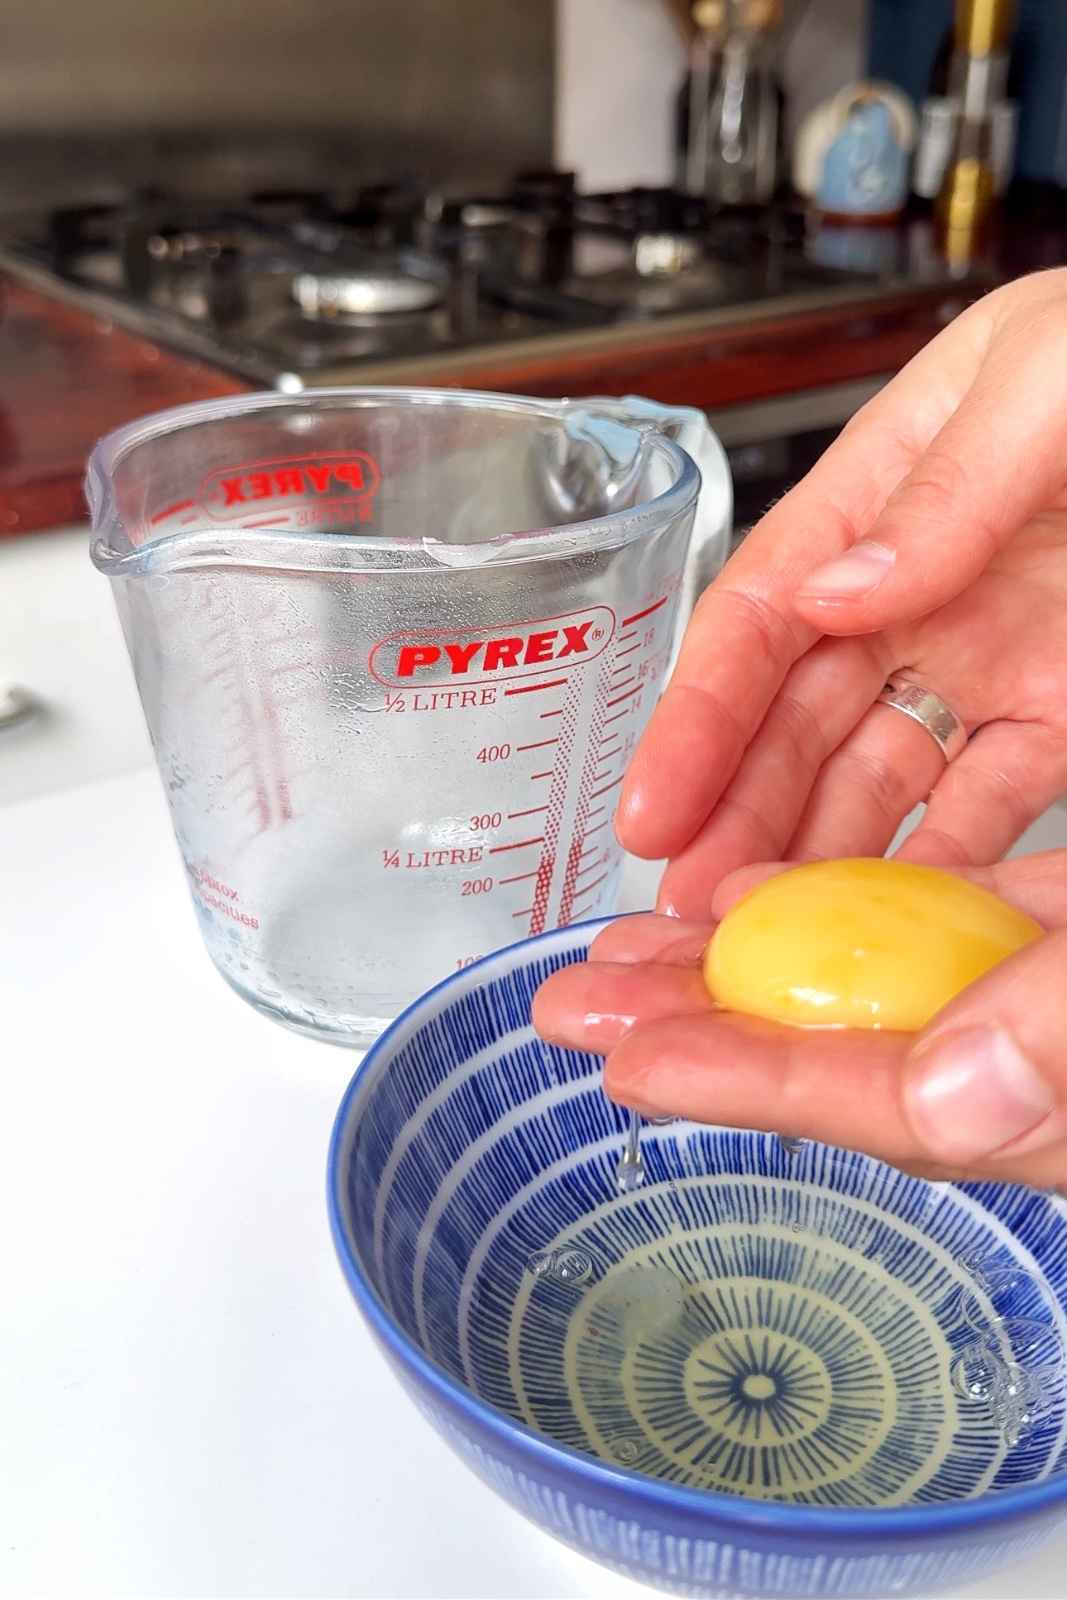
Step 1: Separate the egg yolk from the egg white and place the egg yolk into a measuring jug or medium sized bowl.
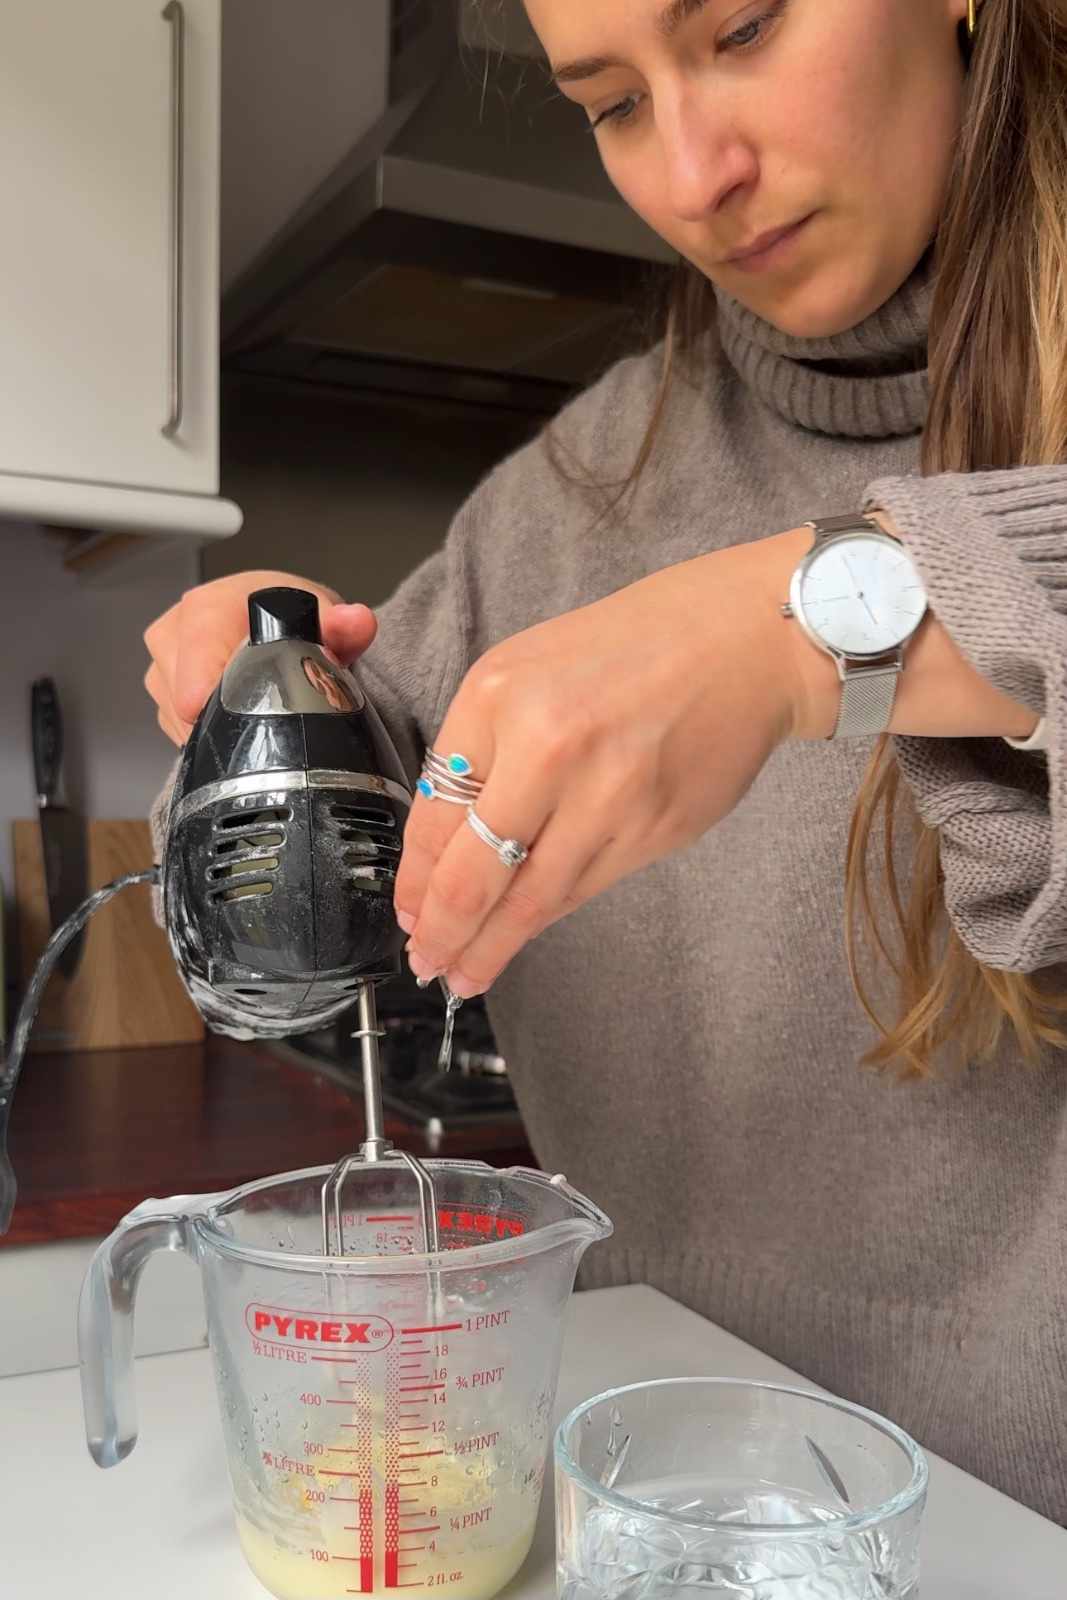
Step 2: Blend using an electric whisk (I only attach one electric whisk attachment so it fits into the jug). Add a drop of vegetable oil at a time and whisk for around 10-20 seconds in between each addition. Do this 5 times. Then begin adding in ½ teaspoon of vegetable oil at a time and whisk for 10 seconds in between each addition. Do this another 5 times.The mayonnaise should begin to thicken. You can now add more oil at a time, but still go gently, if you add too much too quickly, the egg and oil won't emulsify and it will split.
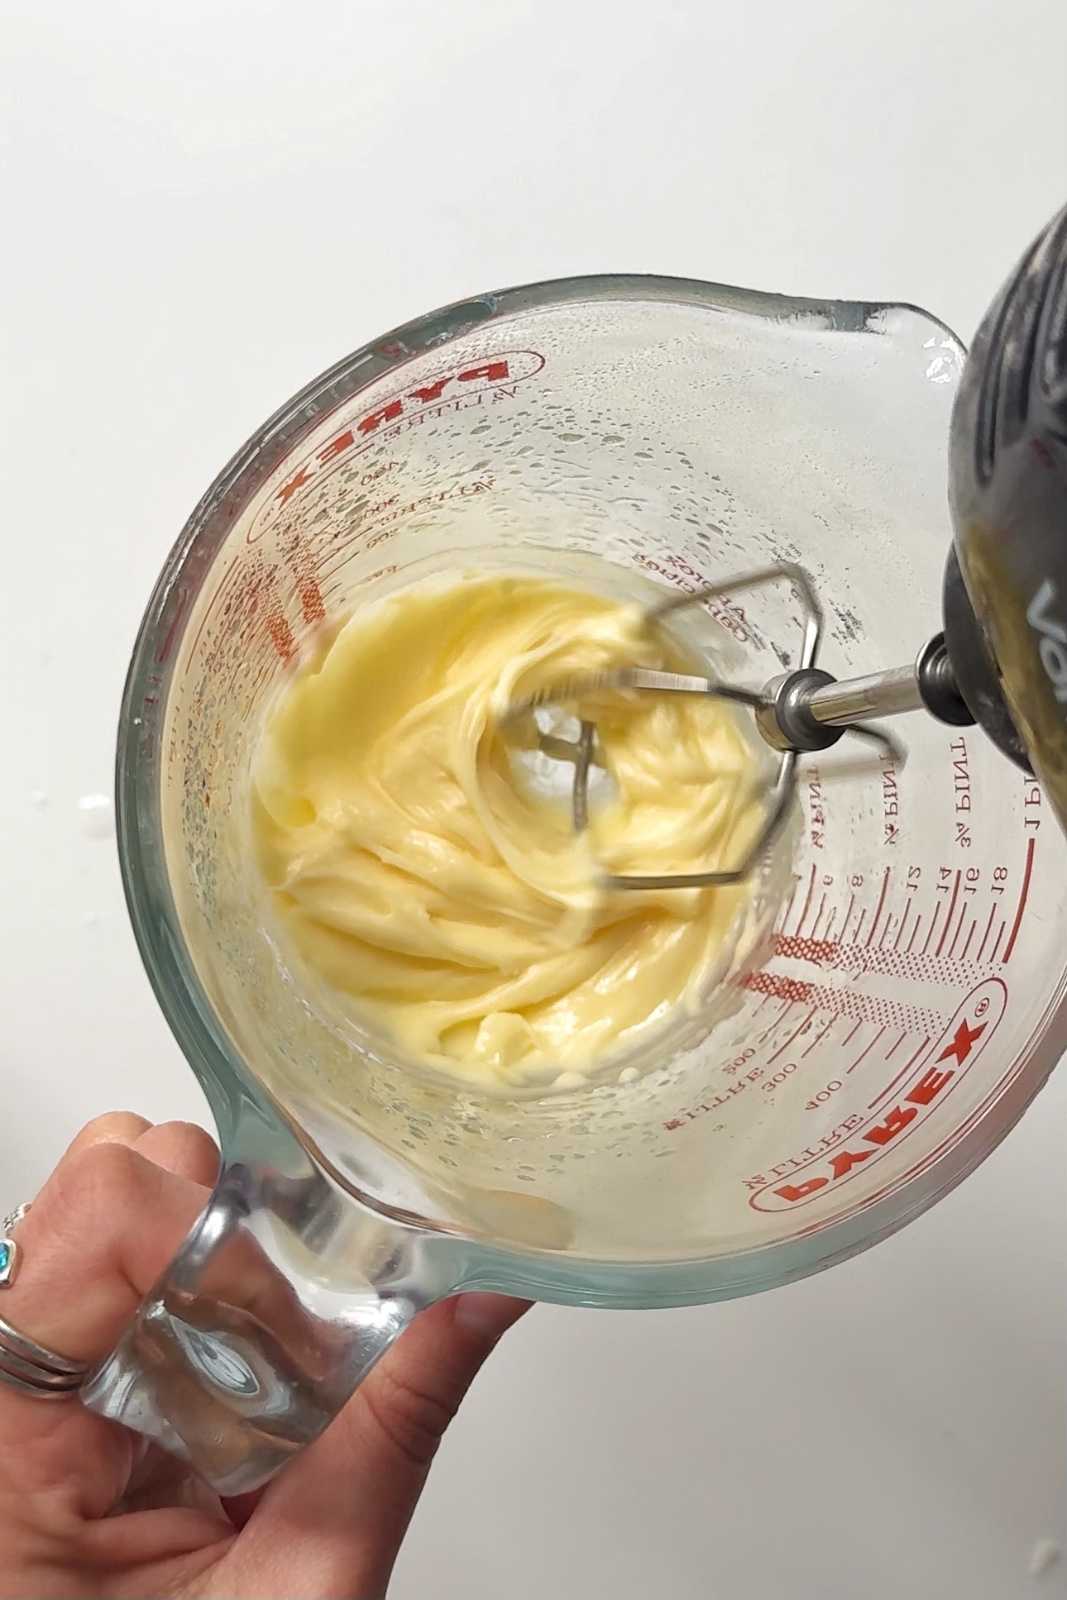
Step 3: Once you’ve added half the oil, the mayonnaise may look a bit thick. Feel free to add in ½ teaspoon water to loosen the mayonnaise from clumpy to smooth.
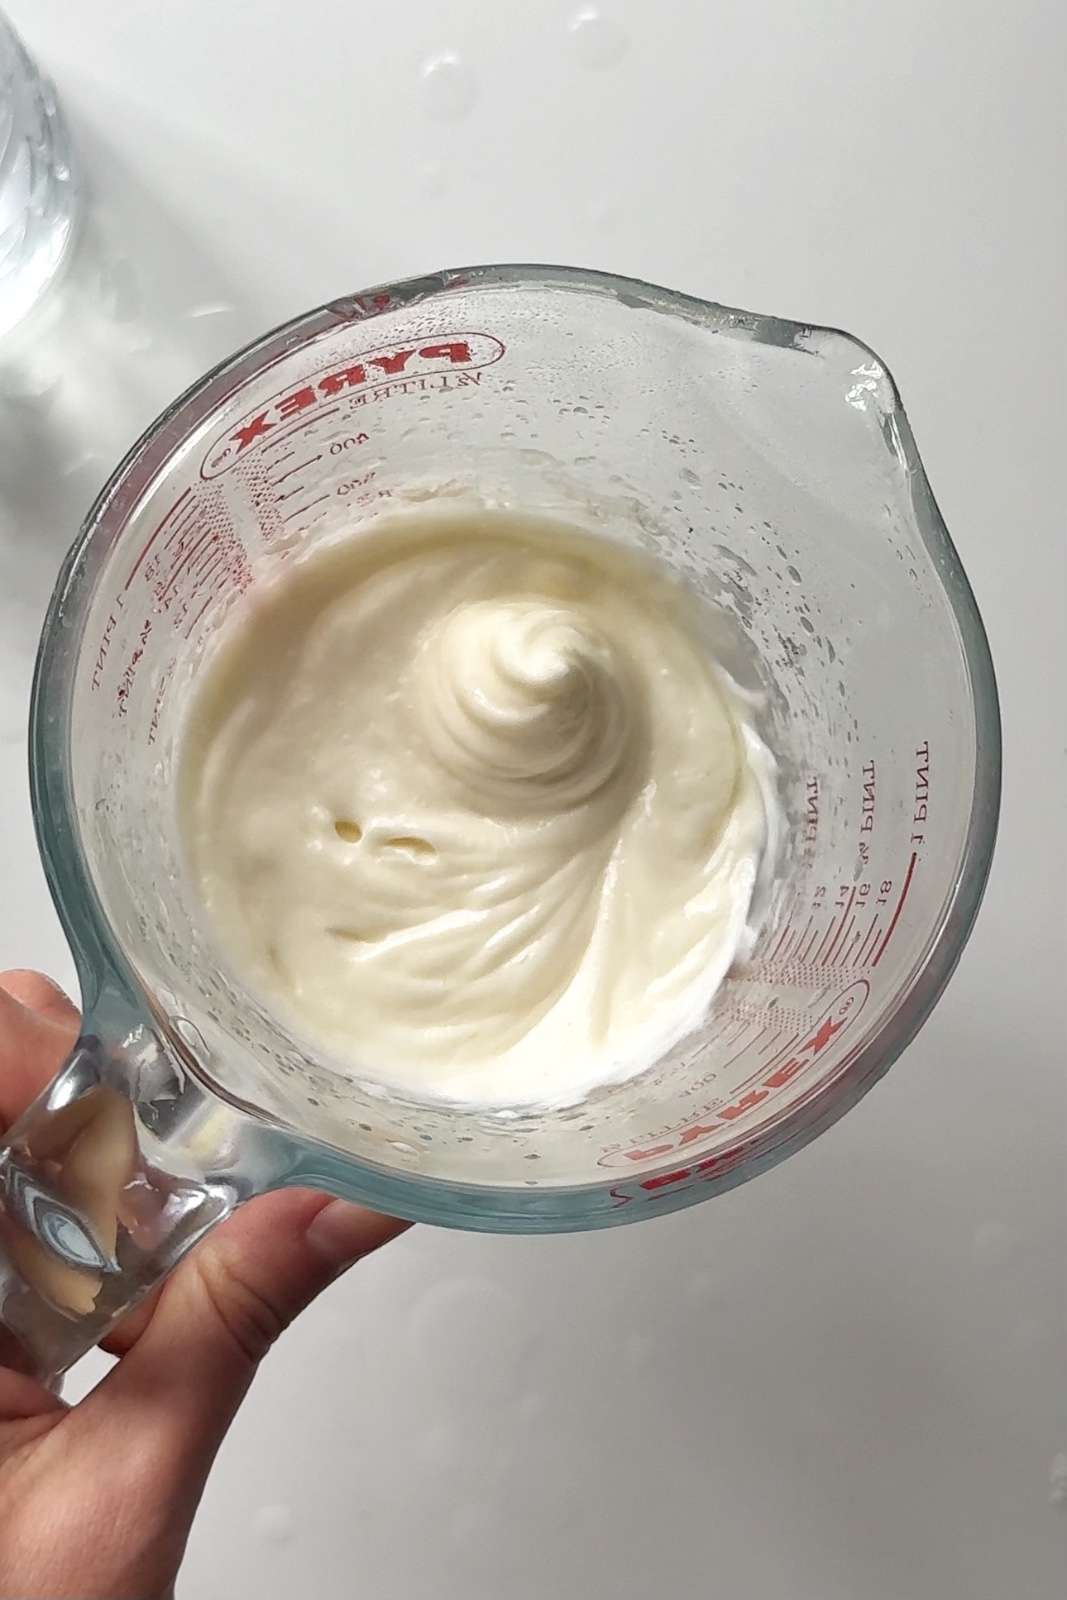
Step 4: Once you've added in all of the oil, feel free to add in another ½ teaspoon water to further loosen the mayonnaise to your desired consistency.
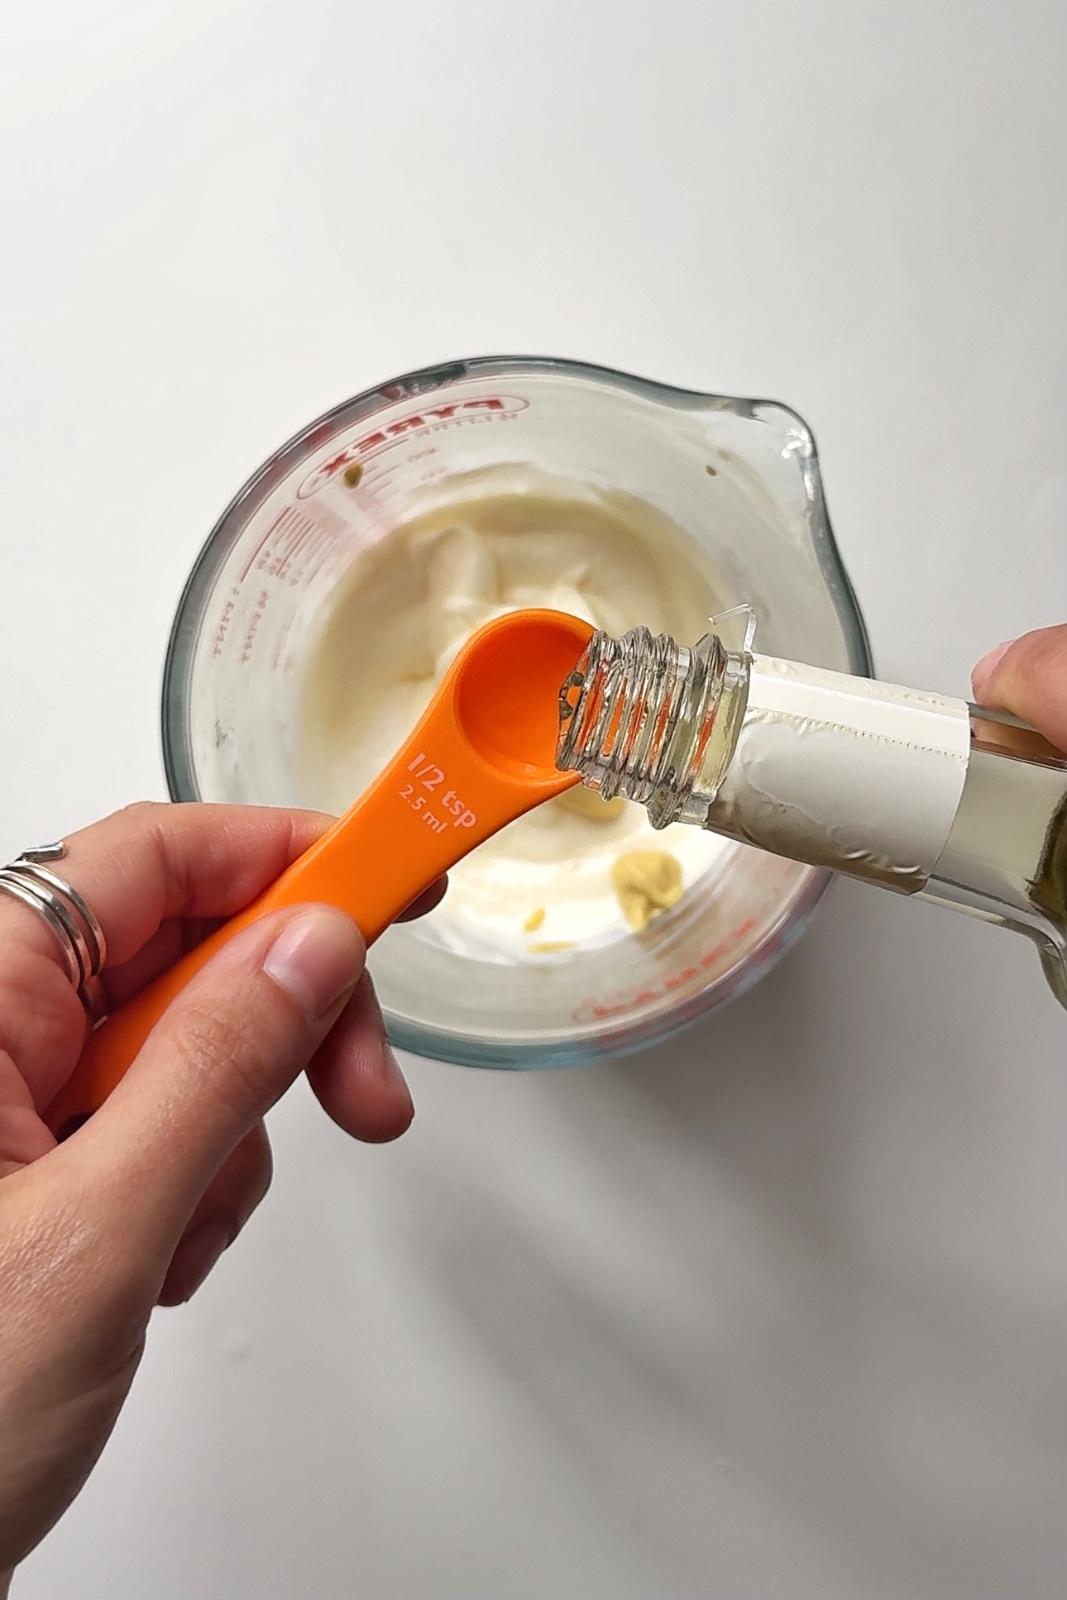
Step 5: To your mayonnaise, add the dijon mustard, salt, sugar, rice wine vinegar, msg, and lemon juice. Stir with a spoon or whisk until combined. This is your kewpie mayo!
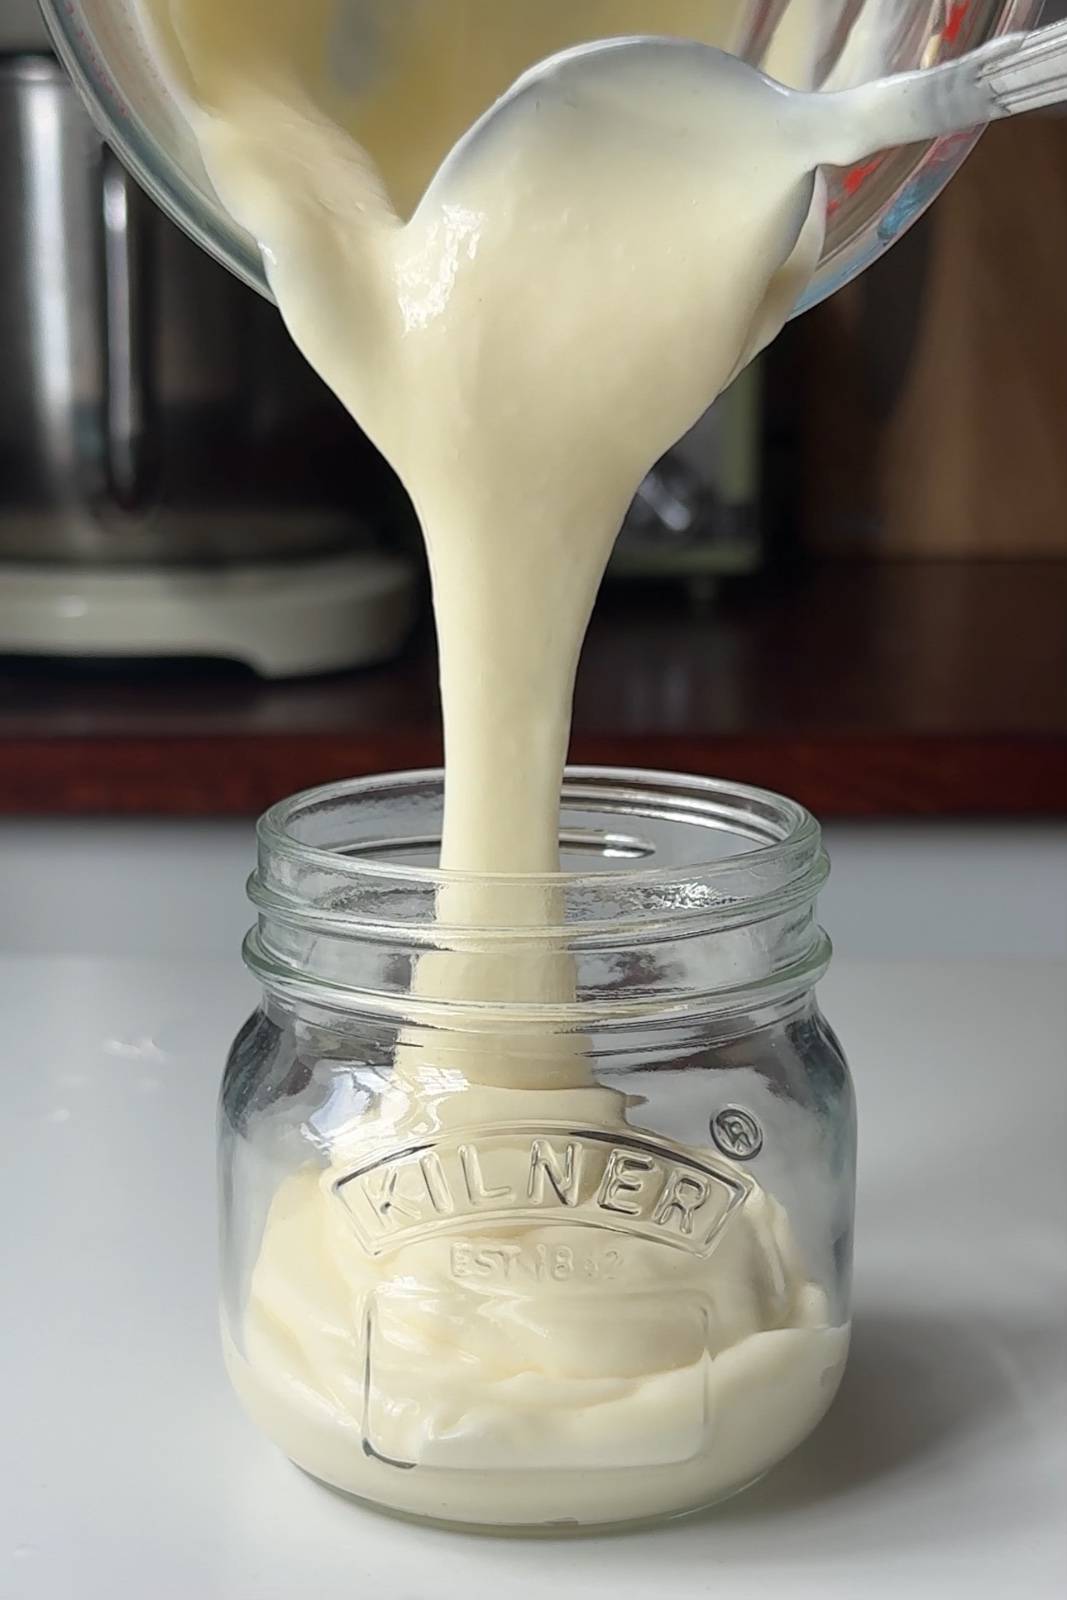
Step 6: Transfer into a clean glass container or plastic container and store in the fridge for up to 3 days. Enjoy!
Expert Tips for the Best Kewpie Mayo
Use an electric whisk and a jug. This is my preferred method. I place the egg yolk in a measuring jug or tall 32oz circular container and use an electric hand whisk with just one attachment fitted (so it fits inside the jug). It gives you great control over the emulsification process without needing a food processor. You could alternatively use a hand whisk.
Follow the oil increments precisely. Start with a tiny amount of oil at a time. Whisking for 10–20 seconds between each addition. Do this 5 times. Then move to ½ teaspoon at a time, whisking 10 seconds between each. Do this another 5 times. By this point, the mayo will be thickening and you can add a little more oil at a time, but still go gently.
Add a little water if it gets too thick. Once you've added about half the oil, the mayo can get really stiff and clumpy. Just add ½ teaspoon of water to loosen it from thick and clumpy to smooth and creamy. You can do this again at the end to get your desired consistency.
Add the seasonings last. Unlike some recipes that add mustard or vinegar at the start, I add all the seasonings (Dijon, salt, sugar, rice wine vinegar, MSG, and lemon juice) after the emulsion is fully formed. This gives you a stable base first, and then you can taste and tweak the flavors exactly how you like them!
Room temperature egg yolk works best. Cold yolks don't emulsify as readily. Take your egg out of the fridge 20–30 minutes before you start, or run it under warm water for a minute.
Try apple cider vinegar or red wine vinegar for a more authentic taste. Rice wine vinegar is traditional and works beautifully, but both apple cider vinegar and red wine vinegar are also in the recipe and can get you closer to the complex, fruity tang of store-bought Kewpie. Try a 50/50 blend of both!
What to Do If Your Mayo Splits
Don't panic! This happens to everyone. If your mayo looks thin, curdled, or separated instead of thick and creamy, the emulsion has broken. Here's how to fix it:
- Start again (sorry).
- The rescue method: Crack a fresh egg yolk into a clean bowl. Very slowly, a drop at a time, whisk the broken mayo mixture into the new egg yolk, just as if the broken mayo were the oil. The fresh yolk will re-emulsify everything and you'll end up with perfectly smooth mayo.
Common causes of splitting:
- Adding the oil too fast (the most common mistake!! Stick to drops at a time at the start...it requires patience but trust me, slowly slowly wins the race)
- Using cold ingredients (make sure the egg is room temp!!)
What to Serve Kewpie Mayo With
This is where homemade kewpie mayo really shines, it's so versatile. Here are some of my favorite ways to use it:
With dumplings and gyoza: It's incredible as a dipping sauce alongside soy sauce and chili oil. Try it with my smash gyoza or as part of a dipping spread for my homemade momo.
On ramen: A small spoonful of kewpie mayo stirred into ramen broth makes it unbelievably rich and creamy. It works beautifully with my Wagamama ramen recipe or my easy spam ramen.
In sandwiches: Swap out regular mayo for kewpie in any sandwich for an instant upgrade. I especially love it in my crunchy chicken romesco sandwich.
As a dip for appetizers: Serve alongside my air fryer rice paper rolls or Vietnamese-inspired cabbage rolls for a creamy, tangy dipping sauce.
Mixed into salads: It makes the creamiest, most flavorful dressing base. I sometimes use it in my chicken salad and it's a game changer.
Drizzled on rice bowls: A zigzag of kewpie mayo on top of a butadon or any rice bowl adds that perfect creamy contrast.
FAQs
The main difference is the fact that regular mayonnaise is generally made from egg yolk and olive oil, with the additional seasonings of salt and occasional pepper. Kewpie mayonnaise is Japanese and has an array of additional ingredients from rice wine vinegar to mustard.
Yes! For a quick shortcut, mix 200ml mayonnaise with the seasoning mix I've got in the recipe card! Stir well and taste, adjust sugar and vinegar to your preference. It won't be identical, but it's a great hack in a pinch.
Two things set it apart: the use of rapeseed oil or soybean oil instead of sunflower or olive oil, and the use of MSG for that umami hit.
Store homemade kewpie mayo in an airtight container or glass jar in the fridge for up to 3 days. Since it uses raw egg yolk, it doesn't last as long as store-bought. Always use a clean spoon when scooping it out to avoid contamination.
Regular mayonnaise is a great substitute, just combine 200ml regular mayonnaise with the seasoning mix I've got in the recipe card! Stir well and taste, adjust sugar and vinegar to your preference. It won't be identical, but it's a great hack in a pinch.
The most common reason is adding the oil too quickly. Start with just a drop at a time, whisking 10–20 seconds between each addition. Don't increase the amount until the mixture starts to thicken. See my troubleshooting section above for a full rescue method.
A lot of large supermarkets will sell kewpie mayonnaise now, but if you want to increase your chances of getting it, go to a local Asian supermarket or buy it online!
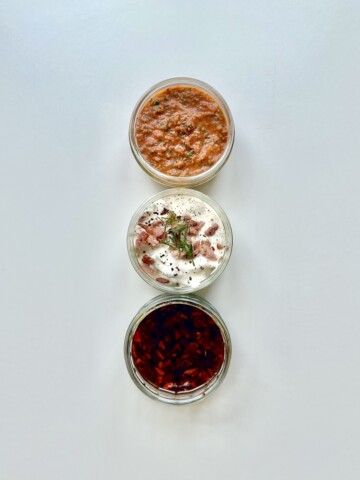
More Condiments and Sauces I Love


If you tried this Homemade Kewpie Mayo recipe or any other recipe on my website, please leave a 🌟 star rating and let me know how it went in the 📝 comments below. Thank you!
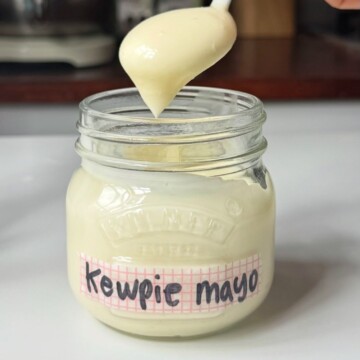
Kewpie Mayo (Japanese Mayonnaise)
Ingredients
- 1 egg yolk
- 175ml vegetable oil
- ½ teaspoon dijon mustard
- ½ teaspoon flaky salt or ¼ teaspoon fine table salt
- ¼ teaspoon sugar
- ½ teaspoon rice wine vinegar
- ¼ teaspoon MSG
- 1 teaspoon lemon juice
Instructions
- Separate the egg yolk from the egg white and place the egg yolk into a measuring jug or medium sized bowl.
- Blend using an electric whisk (I only attach one electric whisk attachment so it fits into the jug). Add a drop of vegetable oil at a time and whisk for around 10 seconds in between each addition. Do this 5 times. Then begin adding in ½ teaspoon of vegetable oil at a time and whisk for 10 seconds in between each addition. Do this another 5 times.The mayonnaise should begin to thicken. You can now add more oil at a time, but still go gently, if you add too much too quickly, the egg and oil won't emulsify and it will split.
- Once you’ve added half the oil, the mayonnaise may look a bit thick. Feel free to add in ½ teaspoon water to loosen the mayonnaise from clumpy to smooth.
- Once you've added in all of the oil, feel free to add in another ½ teaspoon water to further loosen the mayonnaise to your desired consistency.
- To your mayonnaise, add the dijon mustard, salt, sugar, rice wine vinegar, msg, and lemon juice. Stir with a spoon or whisk until combined. This is your kewpie mayo!
- Transfer into a clean glass container or plastic container and store in the fridge for up to 3 days. Enjoy!
Video
Notes
Nutrition
Enjoyed this one?
Subscribe and I’ll send you the 8 recipes people here cook most, straight away.

Bw says
I look forward to making this. I looked at the ingredients for store-bought kewpie mayo and found that it had vegetable oil which is absolutely horrible for our bodies. I noticed that you include vegetable oil in this recipe, so I’m going to make it with avocado oil instead. Hope this turns out!
Emily Roz says
Thank you for your comment! You can absolutely make it with avocado oil if you prefer! 🙂
Eliza says
The flavours are so good that we've stopped buying the real stuff! My family love it and we make it on a weekly basis now. I use rapeseed oil, which works great. Thank you for the recipe!